Hair
The Best Party Hairstyles for Fall
While it can sometimes be fun spending hours crafting an extravagant hairstyle for a party, there will always be those times when you need a quicker and easier option.
These eight party hairstyles are not only that, but will also inject plenty of fun and personality into your look.
A Sleek High Ponytail
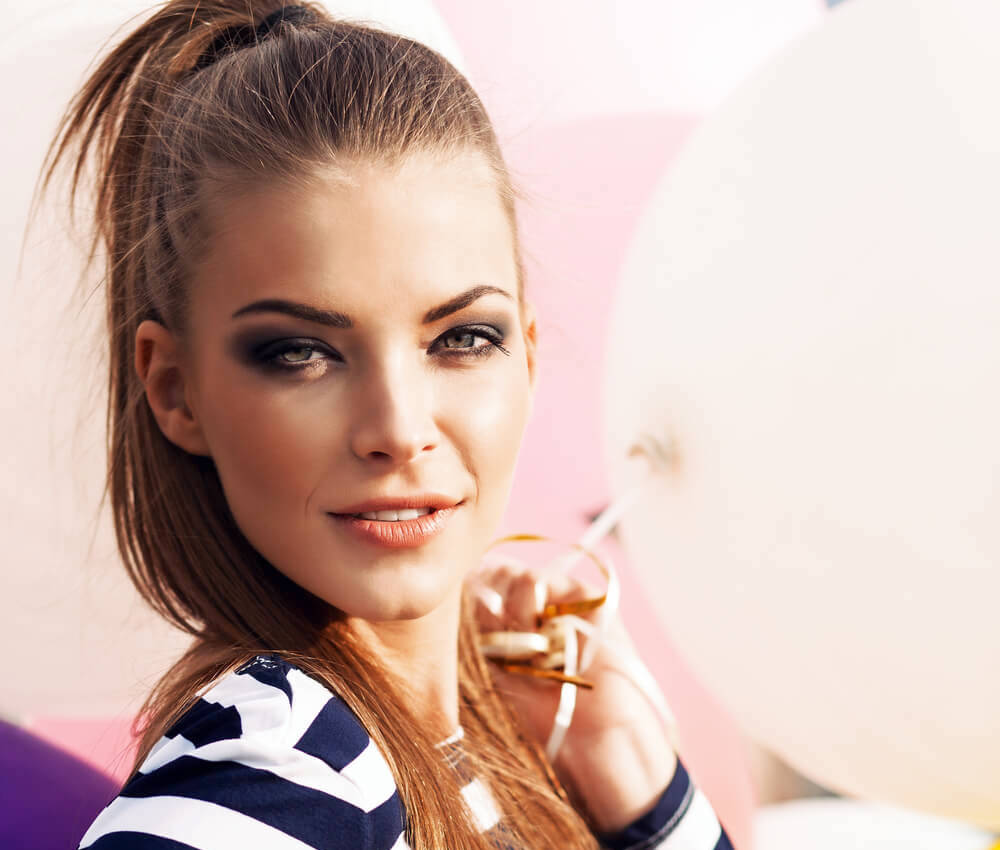
For a fuss-free but incredibly stylish party hairstyle, a sleek high ponytail is the way to go.
Now, this may seem like an easy look to put together, but creating the perfect ponytail can actually be quite challenging. Even when you take great pains to gather your hair into a sleek pony, unwanted bumps and stray strands will often appear before you are done tying the ponytail off.
So, how do you avoid that?
Well, it starts when you are brushing your hair. Rather than brushing it downwards, make sure that you are brushing your hair in the direction of where you want your ponytail to lie. This will help to get your hair looking sleek once it is tied up.
Then, brush your hair upwards into a ponytail, and use a hair bungee to tie this off.
Why a hair bungee?
Because not only will this be better for holding your ponytail in place throughout your party, but it also gives you more control when it comes to how tight you want your ponytail to be.
Never used a hair bungee before?
They look like bungee cords, with two hooks. The first hooks into your hair, after which you then wrap the cord around your ponytail, before hooking the second hook in to anchor the cord in place.
If you have any stray strands, use a couple of bobby pins to keep these down.
Once you have created the perfect pony, don’t forget to top this off with a spritz of hairspray to hold everything in place.
A Braided Bun
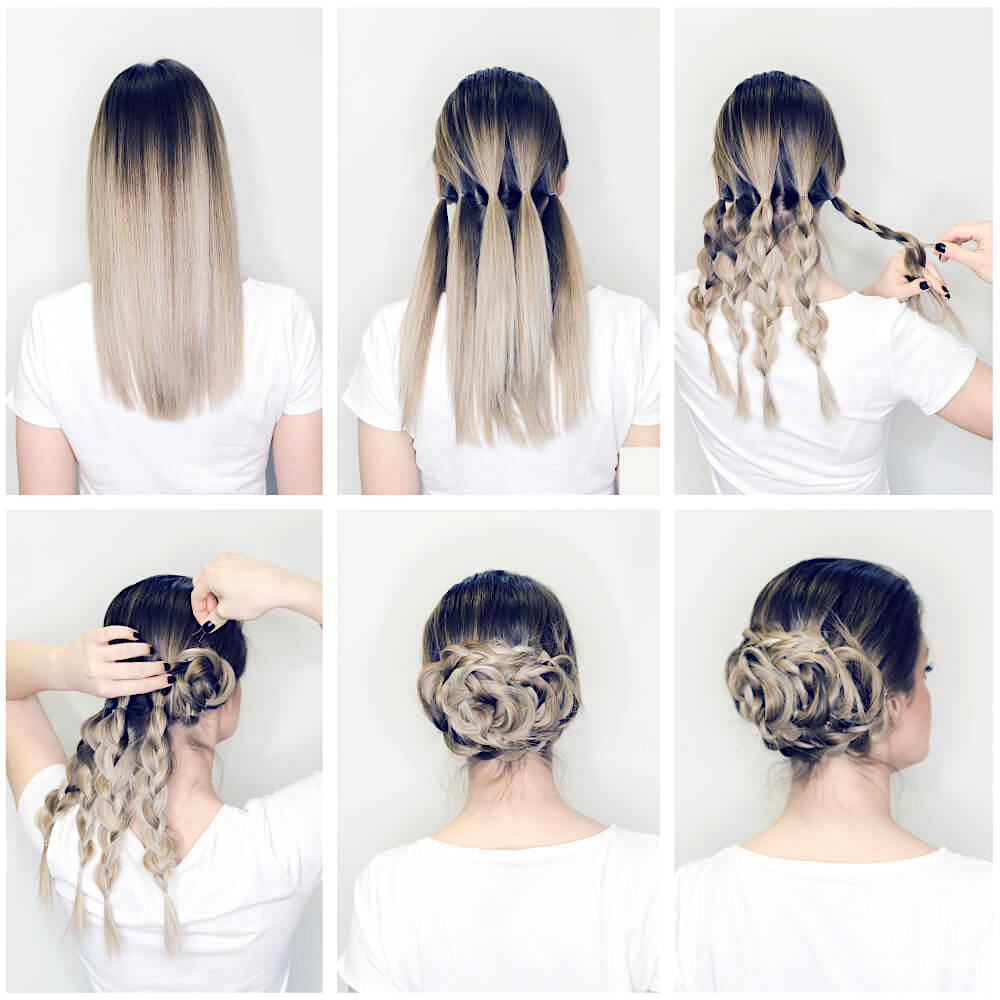
This hairstyle looks quite complicated, but it is actually quite easy to put together.
Begin by brushing your hair out, ensuring that there aren’t any tangles.
Then, tie your hair into multiple ponytails. The amount of ponytails you create depends on the thickness of your hair, but try to aim for between six and eight. Tie each of these ponytails off at the top.
You will now need to braid each of the ponytails, and tie them off at the bottom with a clear elastic band.
Then, gather together some bobby pins. Take each braid and wrap it around itself to form a small bun, before pinning this into place. Keep repeating these steps, until all of the smaller buns have turned into one larger bun.
Finish with some hairspray to keep the look together.
Accessorized Curls
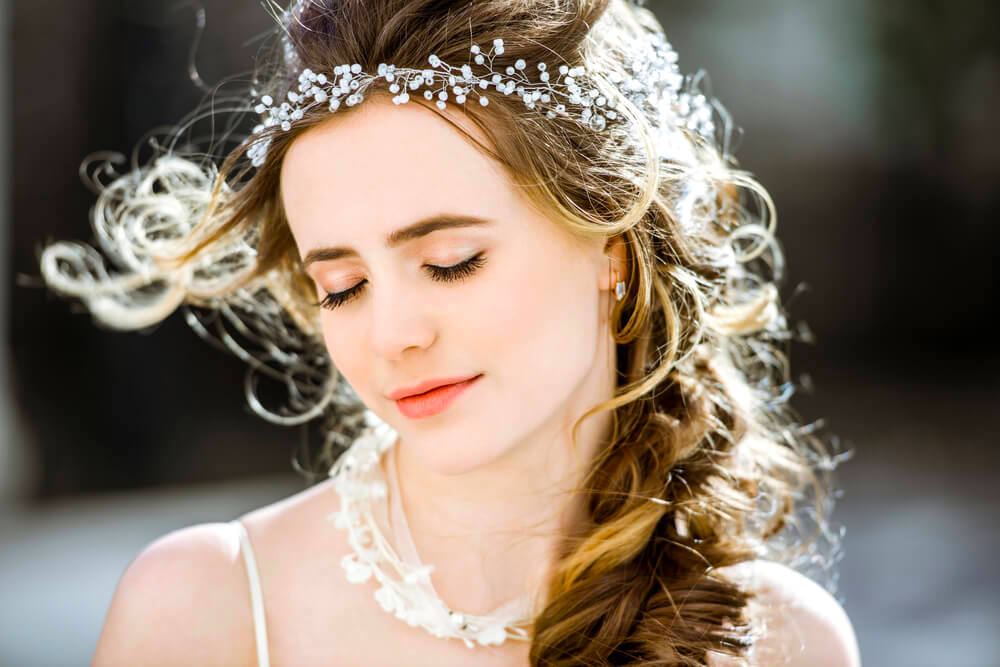
If you really don’t have much time to get your hair ready for a party, hair accessories are a great way to jazz up your hair, no matter what your natural hair type or hairstyle may be.
Need some accessory inspiration?
Here are a few glam accessories to try out on your hair:
- Jewelled hair clips
- Embellished crowns and headbands
- Bows
- Hair scarves
- Ribbons
- Floral headdresses
- Lacy headbands
- Feathers
It always helps to have a good selection of hair accessories at home, so that you can quickly and easily find one that will work with the rest of your party outfit.
A Top Knot
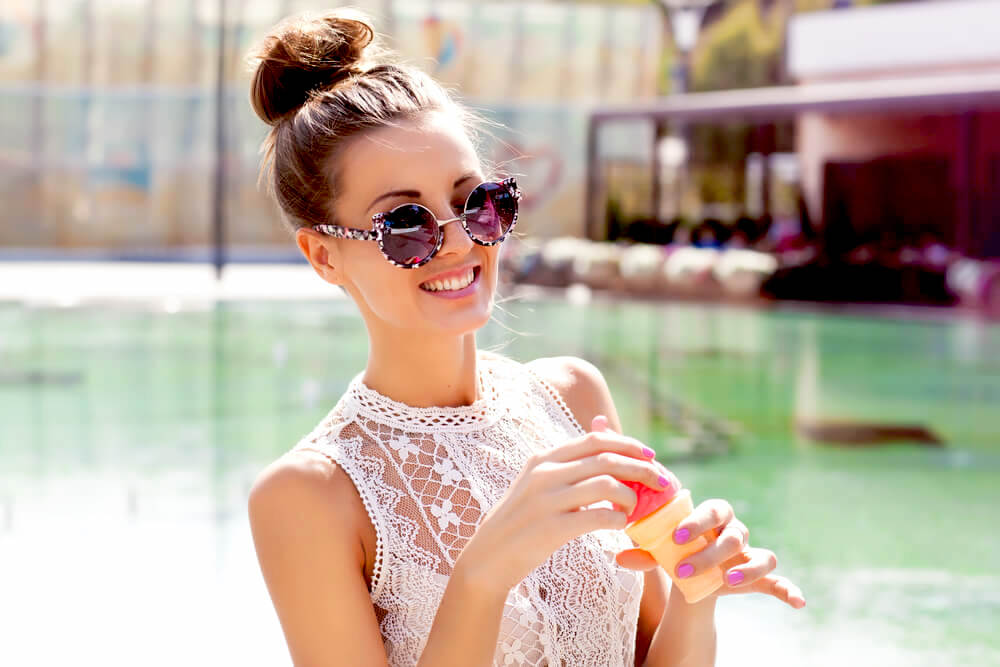
Top knots are simple and casual, making them great for a daytime party.
When it comes to creating a top knot, you have two main options…
The first is to go for a sleek top knot.
Your best bet for perfecting this is by following the tips mentioned earlier for a sleek ponytail, except that you would need to form a bun rather than a ponytail.
Alternatively, if you would like some extra volume and movement, go for a textured top knot.
If your hair is naturally wavy or curly, then any top knot you create will automatically have some texture to it.
For those with straight hair…
Use a curling iron to add some curls to random sections of your hair. Don’t worry about it looking perfect, since you’re going to be tying it up anyway.
Whichever top knot you go for, make sure that you keep any flyaway strands down by using some bobby pins.
One final tip…
A top knot is always so much easier to create on second day hair, meaning hair that has been washed the day before, rather than the same day. If you have already washed your hair and need to put together a top knot, try running some dry shampoo through your strands. This will give your hair some extra texture, and make it so much easier to manipulate.
Clip-In Bangs
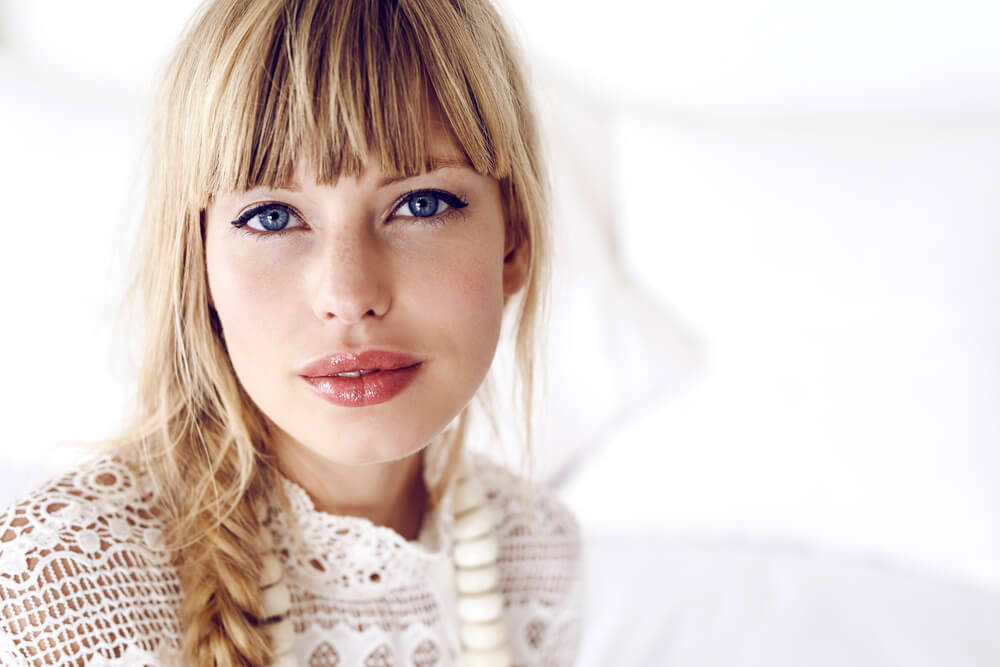
Bangs are such a good way to completely transform your look, but it’s understandable if you don’t feel quite ready to take the plunge when it comes to having bangs cut into your hair, especially if it takes you a while to grow them back out. Not only that, but maintaining bangs can also be quite time-consuming, as well as costly with all of the extra trims you will need.
Fortunately, you now have another option…
Clip-in bangs are becoming increasingly popular, thanks to the way in which the newer styles look completely natural once they have been clipped into the hair.
The key to making sure that the bangs blend in with the rest of your hair well is picking the correct shade. Clip-in bangs are usually available in quite a wide range of different shades, so make sure that you choose one that perfectly matches your hair color.
Clipping the bangs into your hair is quite an easy process…
Here are the steps to follow, although these may vary slightly depending on the bangs you have purchased:
- Create a center part, as this will help the bangs to sit flat against your head. It also makes it easier to keep your hair out of your face while you are putting the bangs in
- Spray the bangs with some dry shampoo to take away the unnatural sheen that synthetic hairs tend to have
- Move the bangs back up towards the crown of your head, along your part, until you have found a position that enables the bangs to fall just above your brows. This helps to hide the seam of the bangs
- Use the clips on the underside of your clip-in bangs to secure the bangs to your hair. Bangs that have longer strands on the sides are always best, as these will help the bangs to blend into your natural hair
A Temporary Dye
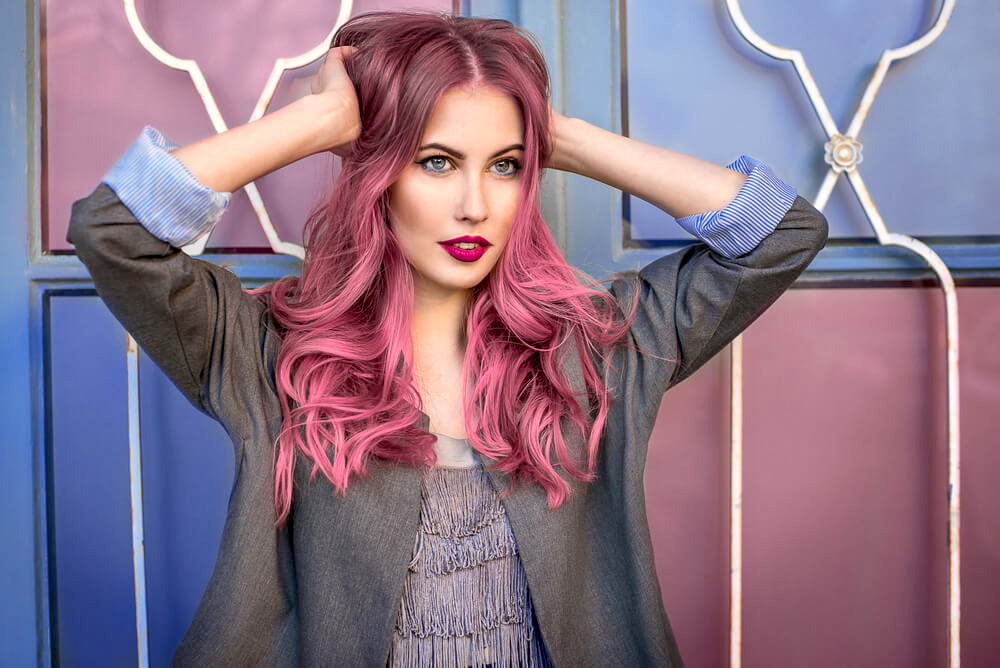
While not technically a hairstyle, using a temporary dye is a great way to give your hair some extra vibrancy for a party.
These dyes are so easy to apply, and you only need to leave them in your hair for 30 minutes or so.
Pinks, lilacs, greens and blues tend to be the most popular colors when it comes to temporary hair dyes for parties, but just about every color under the sun is available in hair dye form, so feel free to get creative.
Can’t find the color you want?
Some brands let you be the artist when it comes to creating the exact shade you’re looking for. White dye, along with a range of core colors, can be purchased. You can then mix these dyes together so that you can completely customize your hair dye shade.
How long do these dyes last for?
It depends on the dye you purchase. Some will wash out as soon as they come into contact with water, while others may last for a few washes.
Once your hair has been dyed, it will likely already make quite the statement, so you won’t need to worry too much about the style that you end up choosing. Simple tends to be the way to go here, as you don’t want to end up looking over-the-top.
Glamorous Curls
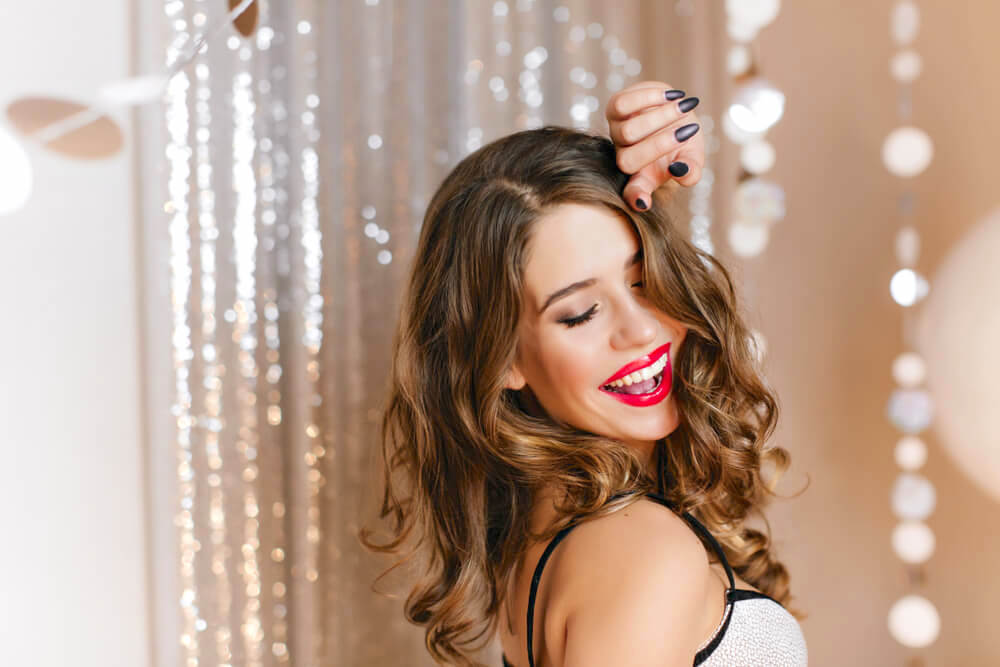
Glam curls are so perfectly suited to a party, not only adding sophistication to your look, but also a mysterious and sexy edge.
The best way to create this look is with a curling iron, but the method does differ depending on how straight or curly your hair naturally is.
Here are a few tips:
- Straight Hair – add in some texture first with a sea-salt spray, before blow drying your hair. Use a quarter inch curling iron, as your hair will need smaller curls in order for them to last
- Wavy Hair – add some mousse into your hair while it is still wet, before blow drying it with the help of a flat brush. A half inch curling iron will be best for your hair type
- Curly Hair – begin with a smoothing cream, before blow drying your hair with a round brush to keep it smooth. Finish off with a blast of cool air, as this will help to close your hair follicles and reduce frizz
When it comes to actually curling your hair…
Glam curls always look best with a deep side part, so make sure that you create this first.
Then, divide your hair into four sections:
- Front center
- Back center
- Left
- Right
Begin with the front center section, curling your hair from ear level before pinning each curl to help it set. Repeat this on both sides, before moving to the back.
One thing to keep in mind is that you don’t need to pin up the curls you create at the back of your head.
Why?
Because this will end up creating too much volume. Glam curls always look best when the curls at the back are slightly looser.
Once your curls are cool and have set, remove the clips and gently run a hair brush through your hair.
If you notice any frizz or flyaway strands at your crown, use a hair straightener to smooth this out.
Finish off with a serum to add some shine.
Do your curls usually end up unravelling quite quickly?
Try this…
Apply some hairspray to your hair before curling it, as this will really help your curls to stay in place.
Low and Loose Pigtail Braids
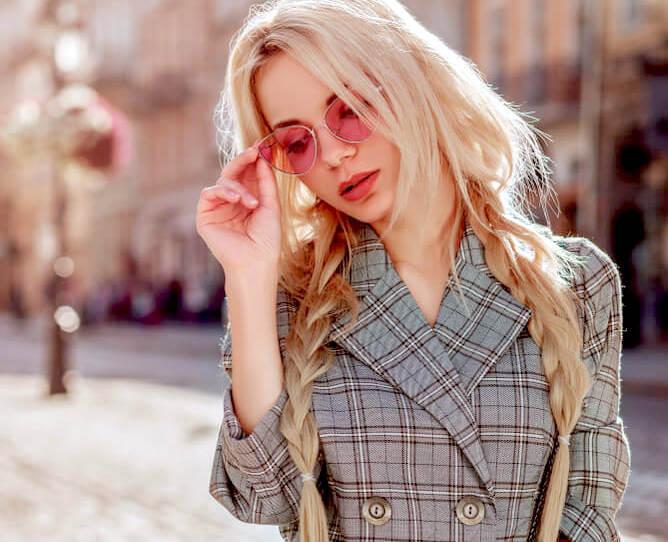
Loose and low pigtail braids are incredibly cute, but don’t look stylish, making this childlike look one that you can rock at any age.
This hairstyle doesn’t take much time at all to put together, simply requiring two braids being created at either side of your head.
This is an easy style to customize, not only in terms of how low down your head you begin you braids, but also when it comes to how tight or loose your braids are.
For those of you who don’t enjoy braiding hair, a regular three-strand braid is going to be the quickest and easiest for you.
However, for those of you who want something a little more complicated, here are a few braid types that work particularly well with pigtail braids:
- Fishtail braid
- Four strand braid
- Seven strand braid
- French braid
- Dutch braid
When creating your braid…
You may be tempted to braid it loosely to begin with, but you should actually be doing the opposite.
Braids that are braided loosely will end up unravelling quite quickly. A better option would be to braid it tightly to begin with, and then use your fingertips to loosen it up a bit.
A finishing cream can also help to set your loosened strands in place.
Don’t forget, practice makes perfect when it comes to braids, so don’t give up if you can’t achieve the perfect look the first time around.
A party hairstyle doesn’t have to take hours to create. Each of these styles can be put together so quickly, and will have you looking party-ready in no time at all.
