Nail art seems to have taken off as an artistic genre all of its own. People everywhere are now using nail art designs as a form of self-expression.
The designs are everything from tiny detailed pictures to geometric designs to tie-dye swirls to festive holiday options. Some of them are quite intricate while others are an eye-catching version of the classic French manicure. They can be as unique as the wearer wants them to be. They can mix finishes, colors, embellishments, pictures, and glitter.
Ready to check out 21 amazing nail art designs?
Polka Dots
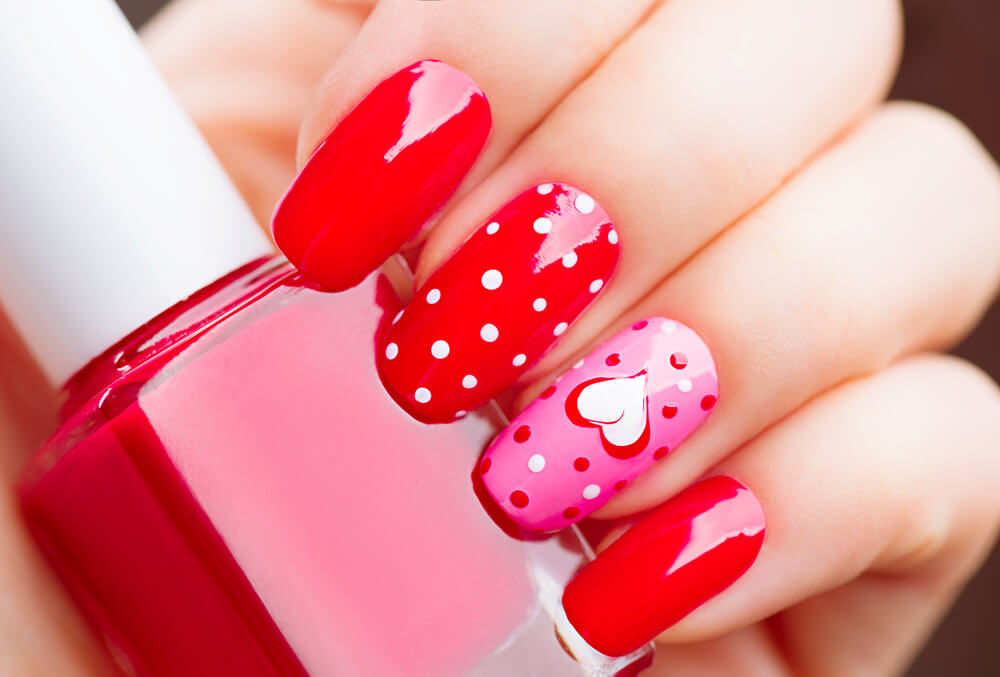
If you’re new to nail art designs, polka dots are an easy way to begin! All you need are two nail polish colors and a simple dotting tool. You can pair any combination of colors, or even more than two! Just make sure that the first coat is dry so that you end up with dots and the colors do not blend together.
Gold Bed
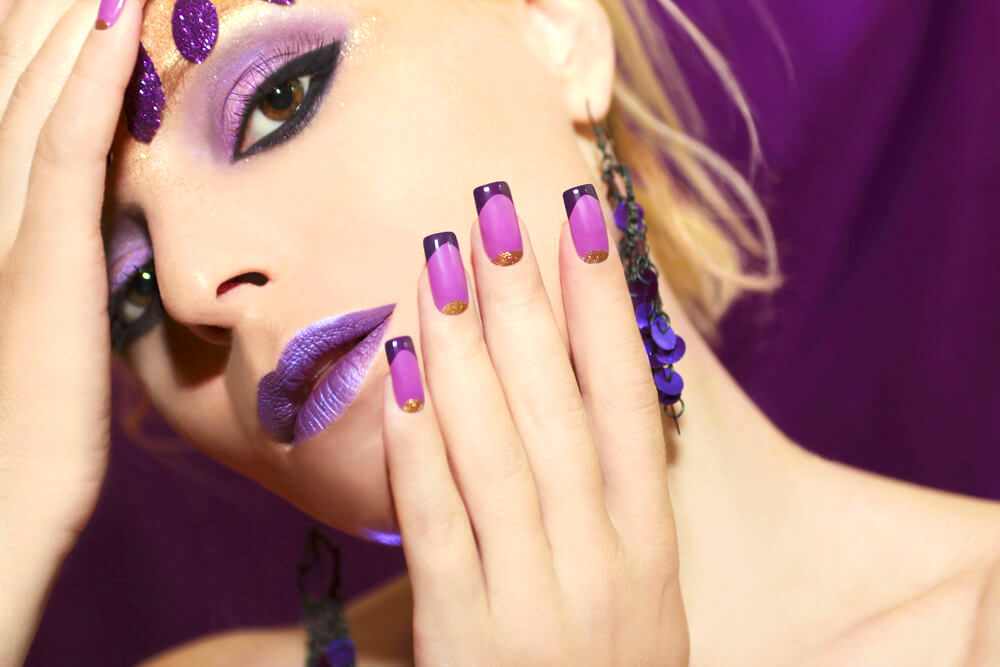
This triple-colored design is easier than it looks. With the gold stripe at the nail bed and the darker stripe at the tip, you simply need French manicure guides to create the crisp lines. If the gold is too much, try three shades of the same color for a subtler effect.
Eye-Catching Ring Finger
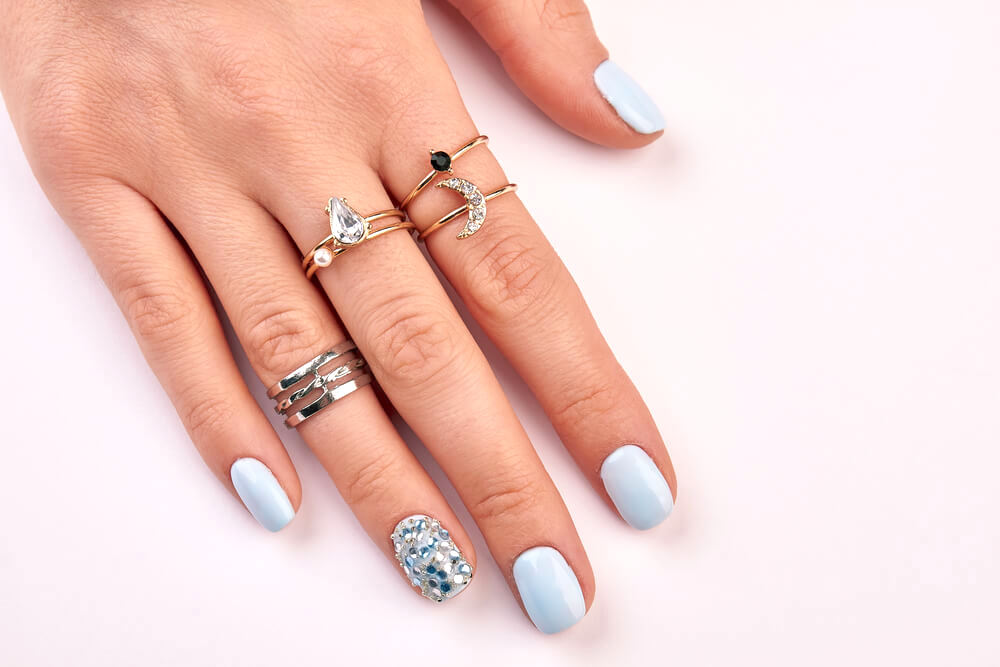
It doesn’t really matter what design you use on the one nail, but emphasizing the ring fingernail has become quite popular. It does not even have to be the ring finger. You can paint any design you have in mind, or simply paint it a coordinating color.
Beige Glitter
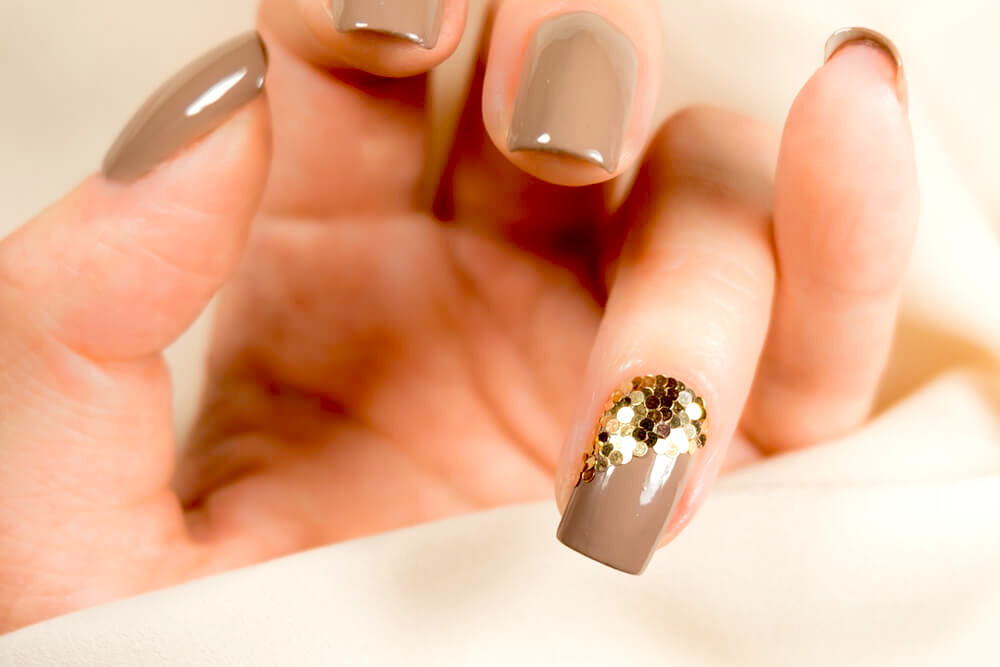
A different form of the one above, I love the simplicity and elegance of this one. The beige background is classic, and the large gold glitter pieces really make it feel elevated beyond the nude manicure. Personally, I would probably pick a cool beige and use silver, but that’s the fun of nail art design. You can make it all yours!
Deep Purple
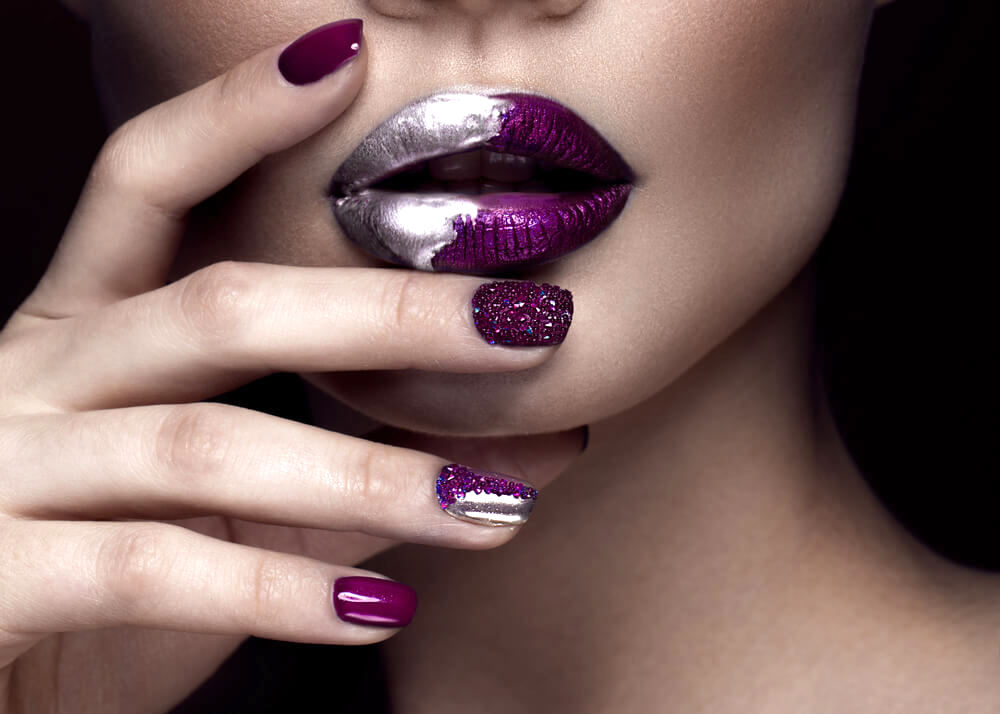
I think this one is gorgeous! I would probably skip the silver, I love the idea of all the nails the same deep purple color but with one of them embellished with same-tone glitter. It is a nice subtle but eye-catching variety.
Matte Black and Gold
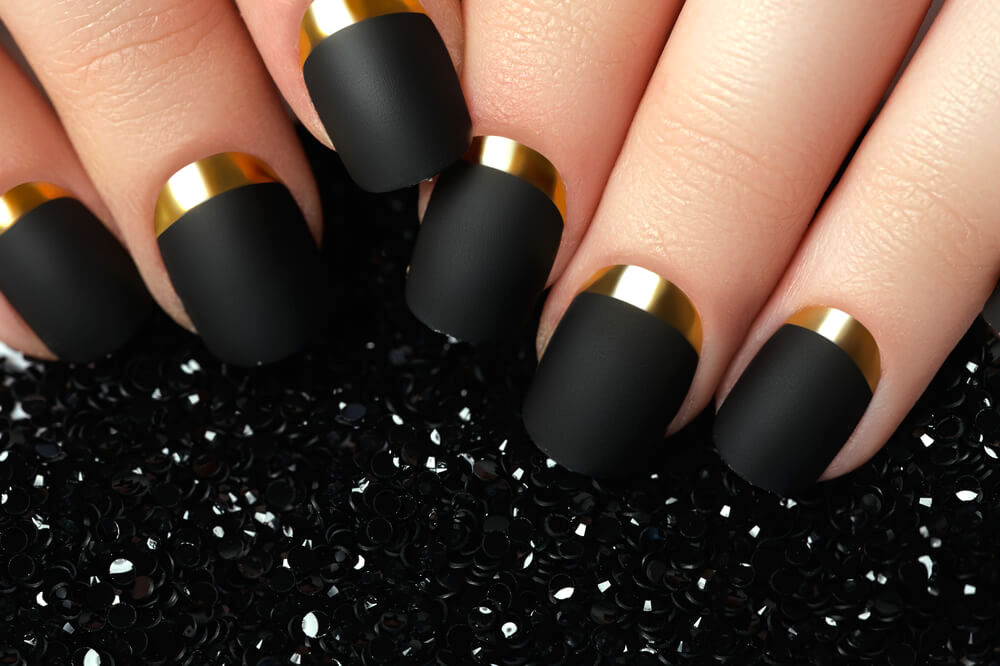
The matte black of this design really sets off the gold beautifully. The contrast is stunning. If the black is too stark for your tastes, matte polish is a new trend and you can find almost any color in the matte finish. Chances are the gold stripes are the striping tapes to get such crisp definition.
Ombre Red
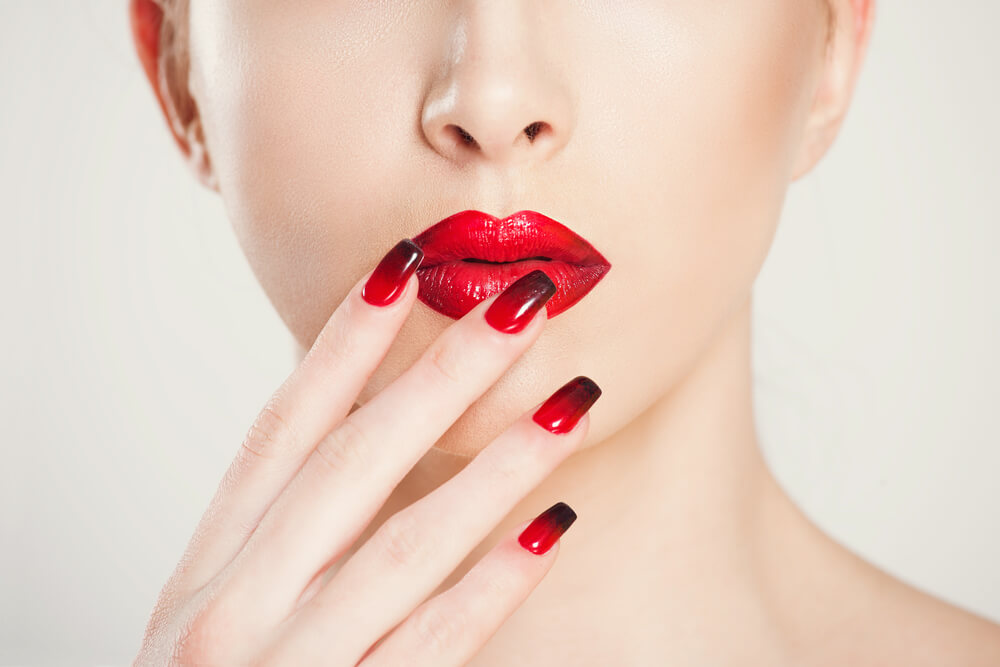
I love the ombre effect of this design! It is probably one for the more experienced nail art designer, but is gorgeous.
One of the easiest methods for the ombre effect is to paint the stripes you want onto a latex makeup sponge and then press the paint to your nails. Yes, it will end up all over your cuticle area, but that’s easy to clean up with a cotton swab or a nail design brush dipped in nail polish remover. And don’t worry so much about the sponge texture, it will smooth out with your topcoat.
Marble Lines
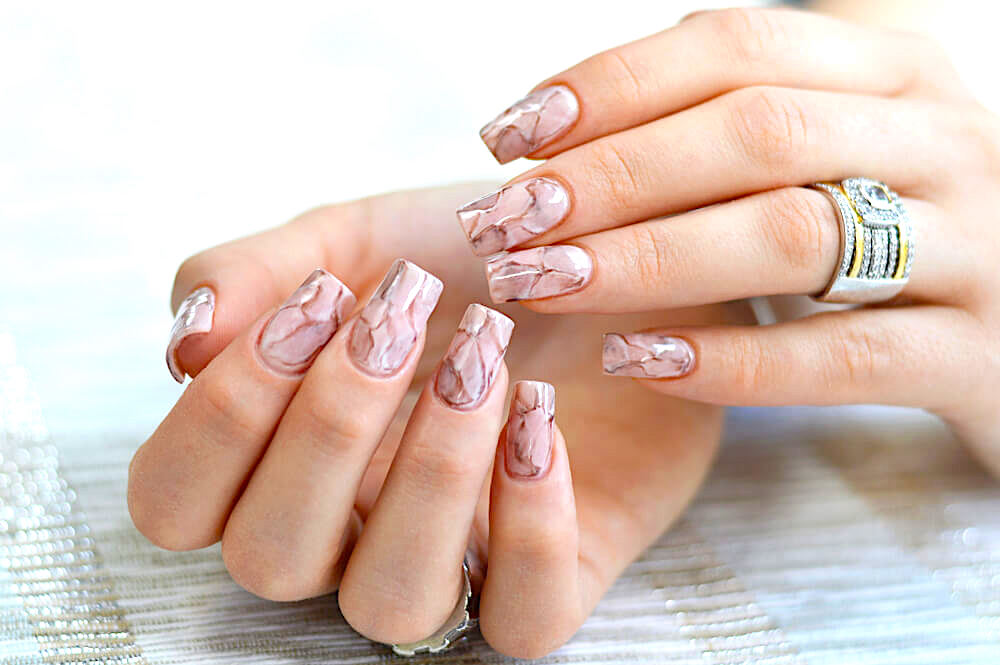
This beige-toned marbling effect is stunning! You could mix any combination of colors, but the beige is gorgeous. This one is easier than it looks. Drop large blobs of each color onto a piece of paper. Dip scrunched up plastic wrap into the blob (one at a time), blot it on the piece of paper, and dab onto the nails. Then blend everything together with the topcoat.
Bright Tips
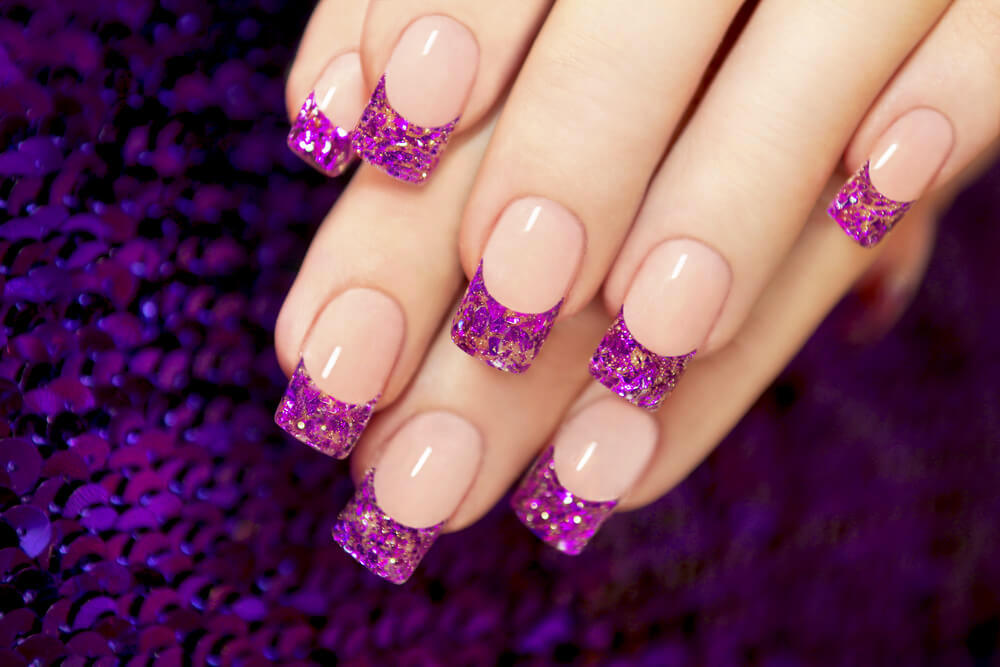
The simple beige background really sets off the bright tips! Many designs are varieties of the French manicure, but this one is really eye-catching. The mixture of purple and gold is beautiful, and is only emphasized by the beige instead of competing with it.
Mixed Textures
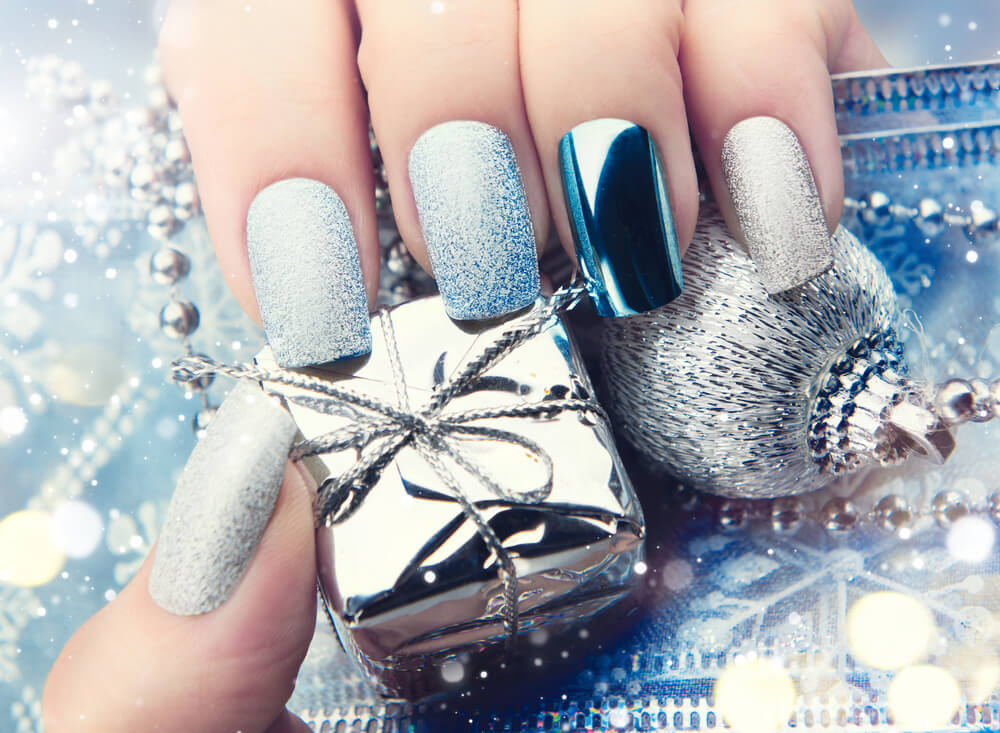
For something more simple, try mixing textures instead of colors. With most of the nails in the velvety texture and the ring fingers in stunning metallic, it is far more elegant than if all of the nails were the metallic finish. That might be too much!
Pointy Tips
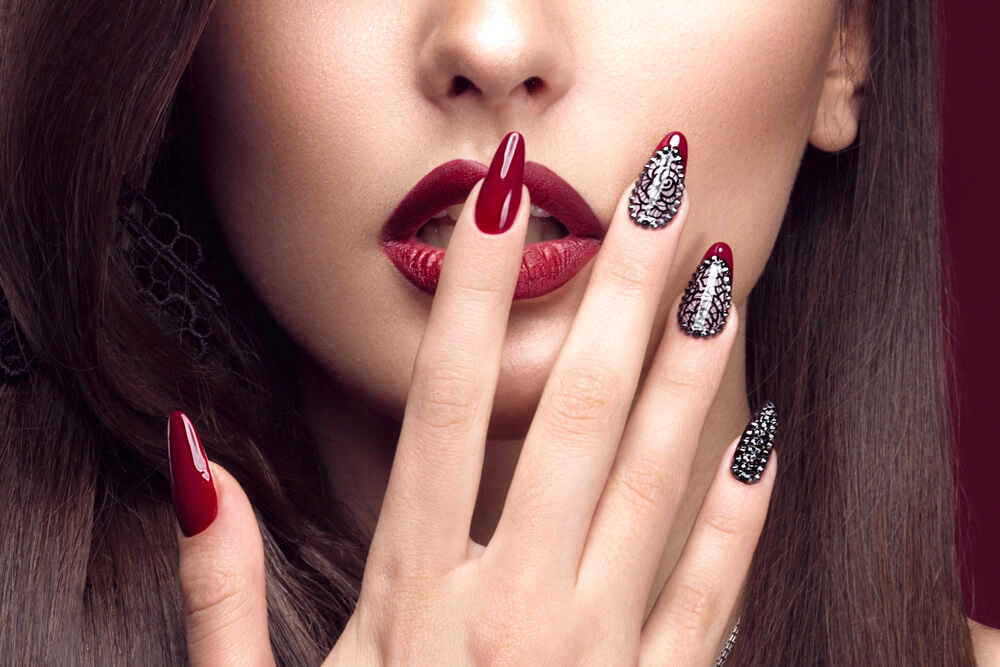
Do it yourself with red nail polish, and black-on-white nail design. Add beads for extra-intricate detail.
Mini Tuxedos
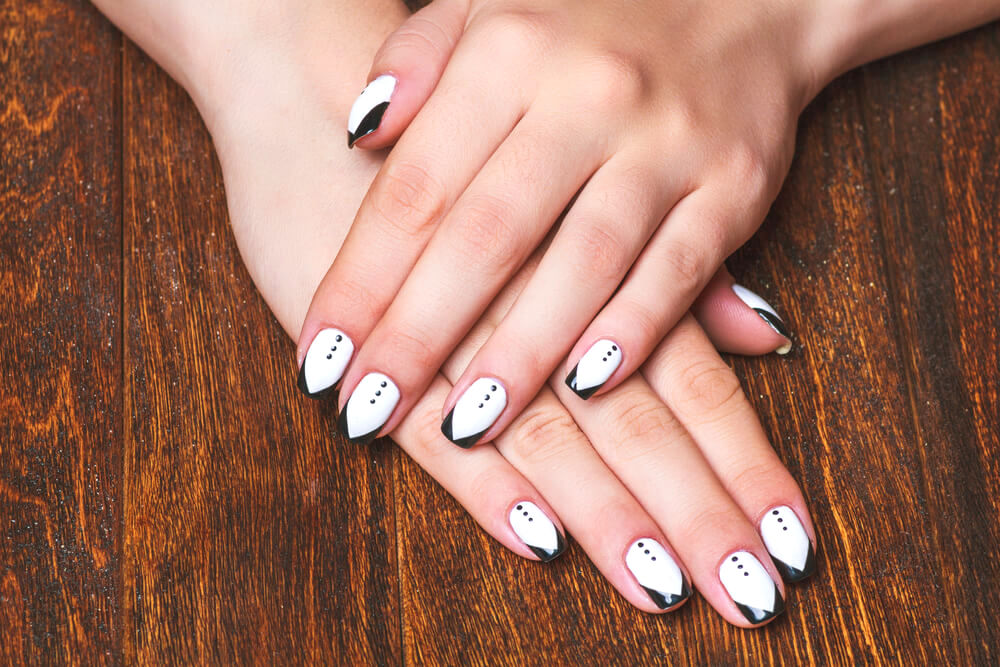
How adorable is this look? Three dots down the middle, with a collar of black on the nail tips. Perfect to match the date’s!
Delicate Blue
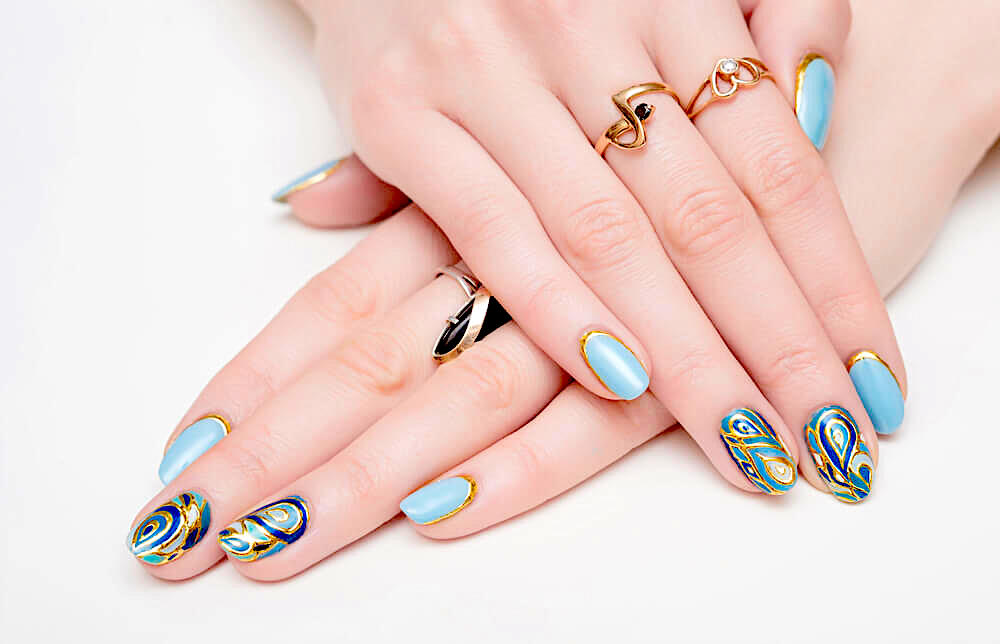
This reminds me of delicate china. Blend varying shades of blue with strict lines of gold, and you’ll achieve this simple, elegant look.
Four-Leaved Clover
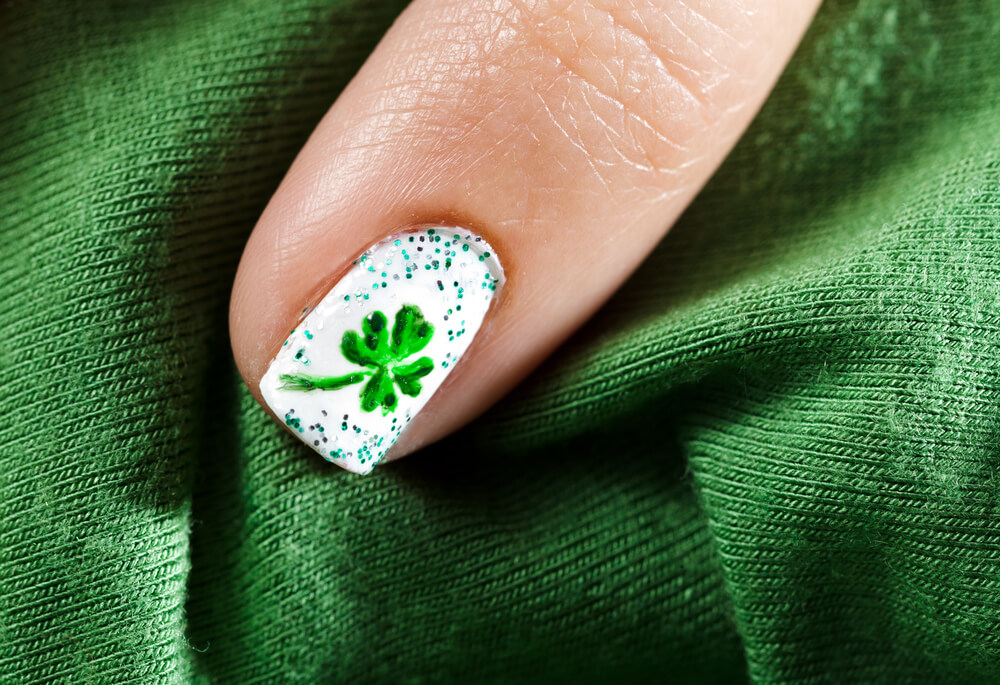
Kiss me, I’m Irish! This adorable four-leaf clover is perfect for St. Patrick’s Day although personally I might have made the green embellishment metallic instead.
Festive
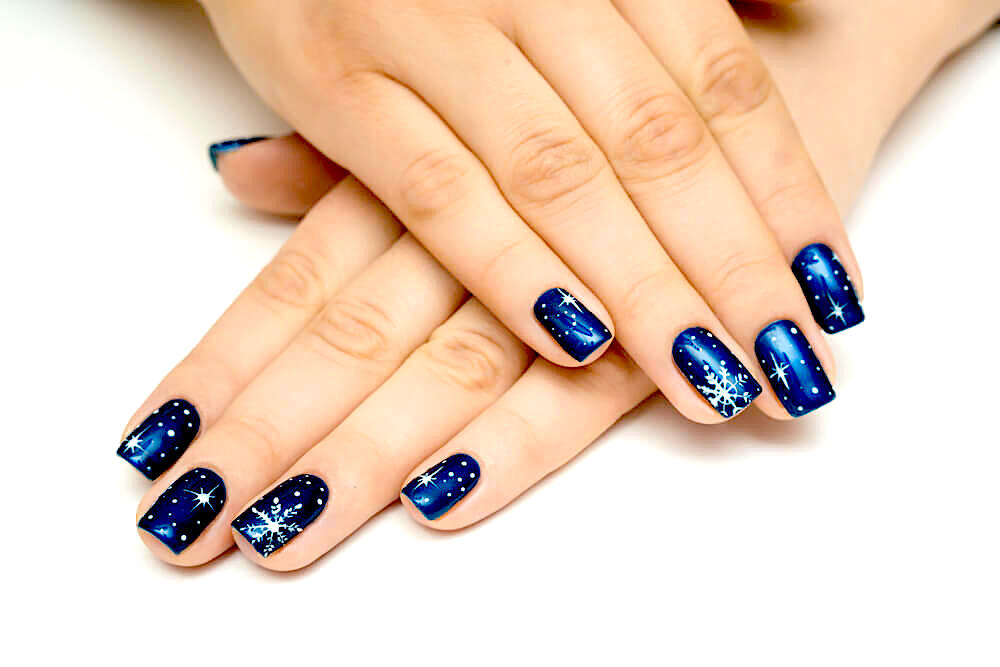
This combination of white snowflakes on deep-blue background really makes the festive season pop!
Tiny Reindeer
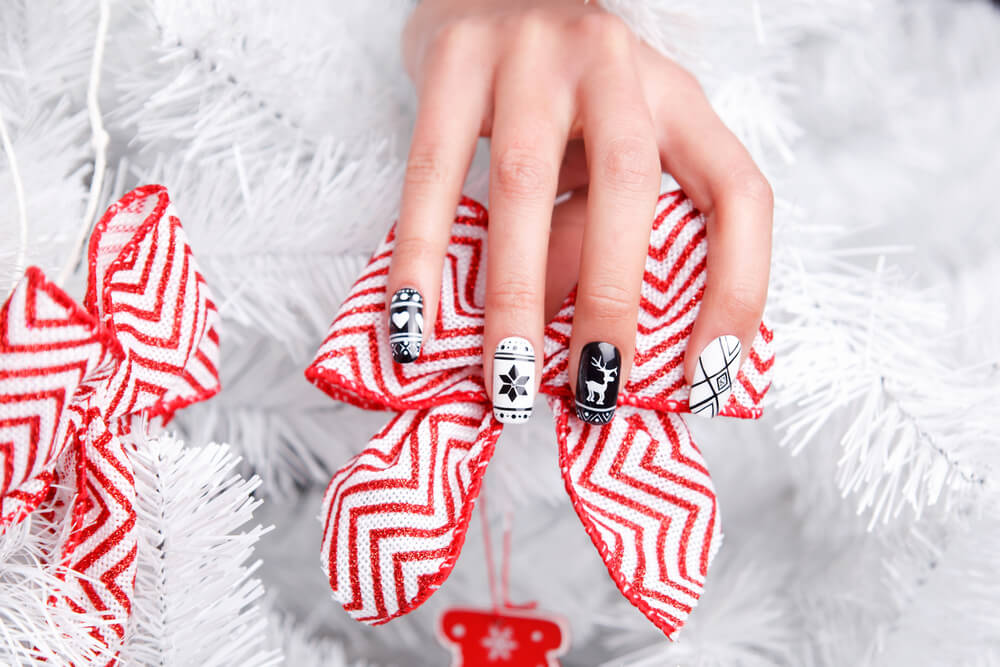
I couldn’t resist sharing this adorable ode to “ugly” Christmas sweaters everywhere, with the tiny white reindeer on his black background, and the rest of the nails painted with varying symbols of the festive season.
Champagne Colors
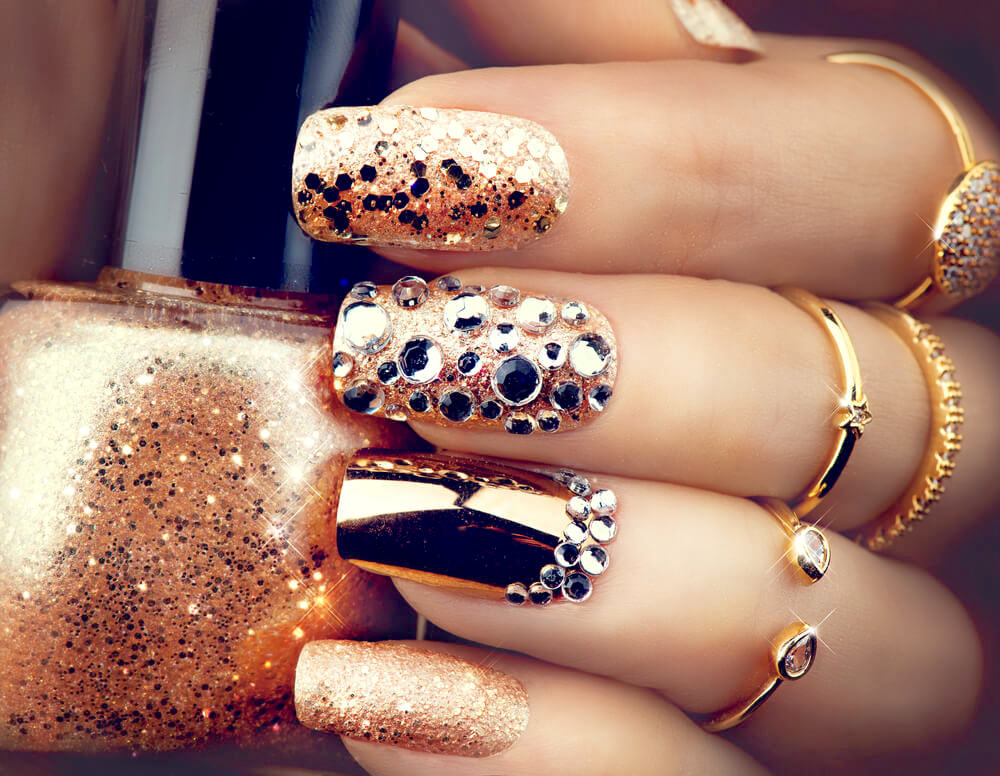
Aren’t these gold designs gorgeous for your fancy night out? The pinky nail even evokes the bubbly champagne of the midnight toast. If you are ever going to go all out on your nail art design, New Year’s Eve is the night to do it!
Rainbow Lines
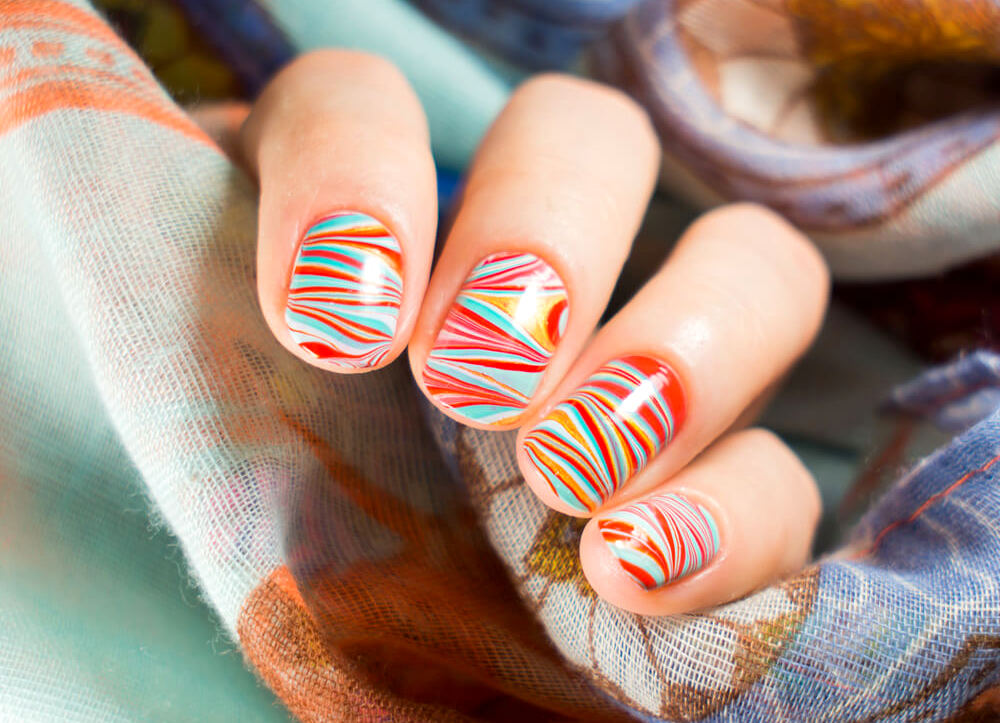
Let the rainbow shine! These easy strips of color will make you feel like you’re wearing candy.
Butterfly
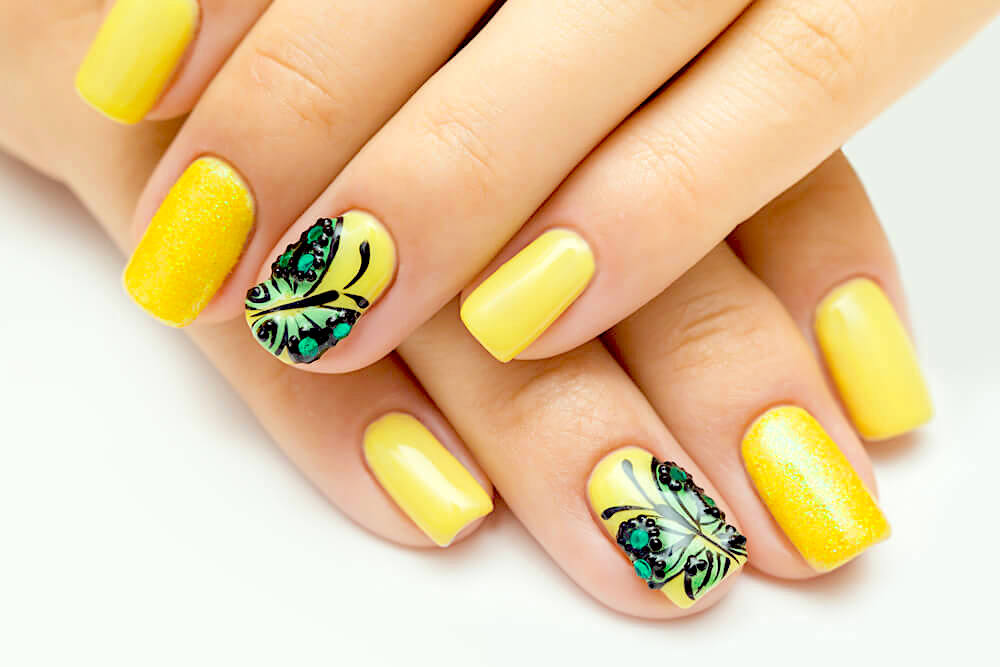
I love butterflies and this stunning green one is gorgeous. I’m not too keen on the yellow background, but it works with the green shades of this butterfly design. I might pick a pale blue background and add a deep cobalt butterfly, but to each their own!
Basic Tools for Nail Art
Having a design painted on at the salon can get expensive if you like to change it up on a frequent basis, but many people are learning how to create nail art designs at home with the right tools. The basic tools for creating your own designs are:
-
Stickers
The easiest nail art designs are stickers with a strong adhesive. Just remember to seal them on your nail with a good topcoat. Some stickers are meant to cover the entire nail like a manicure in itself, others are meant to just be the artwork you add to your normal manicure.
-
Dotting Tools
These little tools typically come in sets of five dual-tipped tools, with ten different metal heads for different sizes. They are for creating many of the designs and detail work for the art.
-
Rhinestones
These are only if you want to add a little extra sparkle or emphasis to your design. They come in hundreds of colors and shapes and sizes, and can be simply added as embellishment to whatever designs you are creating. Make sure to press firmly to let the glue adhere to the nail base.
-
Tapes
These little strips help give you a crisp clean line when you want to step up your design. Most of them are metallic, but not all. They also can help camouflage mistakes if your nail art brush slipped! Instead of having to start over, simply mask the mistake with a small strip of the tape. They even conceal the seams if you have multiple colors on your nails so that you don’t have to create that perfect line.
-
Beads
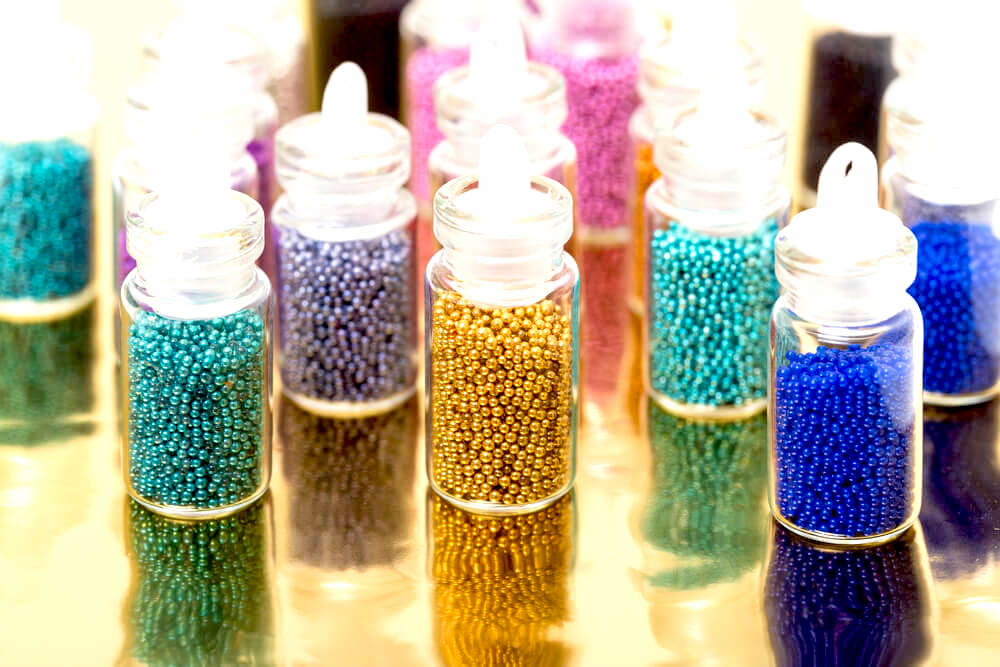 Same as the rhinestones, they can add a 3-D element to your nails. They are usually metal or glass, but that is up to you. Use them by themselves as the design, or enhance it like using beads for the spots of your little ladybug.
 -
Glitter
Talk about your messiest addition! But many people like the sparkle, especially around a holiday like the Fourth of July or New Year’s.
-
Polish
Obviously you need to have a variety of nail polish colors if you want to create designs. It is hard to be artistic with one nude pink color!
-
Stamps
If you want to make your design special but are not interested in something 3-D like a bead, stamps might be your thing! Plus, you do not have to freehand draw whatever you want to add.
-
Topcoat and Basecoat
These are essential for any home manicure, whether it includes a design or not. You want to make sure it lasts!
-
Orange Stick
This simple wooden stick is critical for creating your designs and for cleaning up the cuticle area. For the detail work itself, I would not recommend wrapping the tip in cotton because that can leave threads or the threads can drag through your design and smudge the colors. Wrapping the tip in cotton works wonderfully for cleaning up the cuticle area though.
-
Tweezers
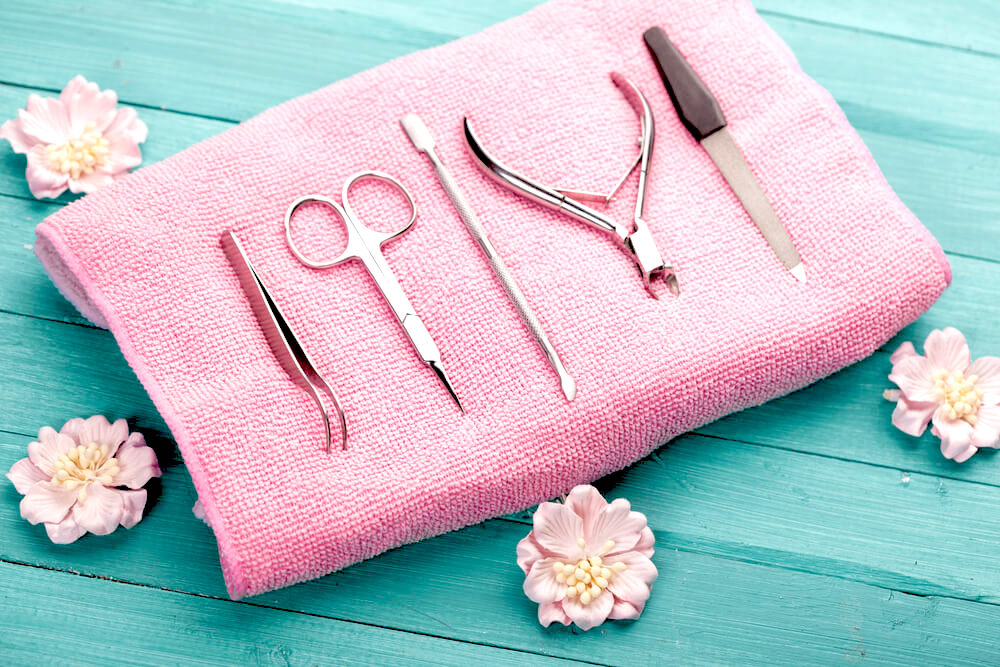 Quite necessary for picking up all those little embellishments!
 -
Scissors
To trim the decals or your cuticles.
-
Nail brushes
How else are you going to draw that little pink flower or that adorable penguin?
Pro Tips for Nail Art
For the best nail art look, I have a couple of tips for all newbies:
#1 Some designs look better on certain nails
Make sure to pick a design that works with the length of your nail as well as the shape. For example, the lipstick shape might look amazing with a creative French manicure to emphasize the slant while a butterfly might be wonderfully suited for the softer sides of an oval.
Some of the more intricate designs might be difficult to pull off on shorter nails since there is not as much surface area, while geometric designs look great on shorter, more fingertip-length nails.
#2 Make sure you care for your cuticles
Regular nail and cuticle care and maintenance will make sure that everything looks smooth and ready for decoration. Do not skip on the basics such as shaping your nails or moisturizing your cuticles. Bright eye-catching colors will look unfinished or amateur if the nails and cuticles do not look healthy and cared for.
Apply cuticle cream or oil on a daily basis to moisturize the area and keep the polish smooth and shiny. When your nails look this snazzy, you want to make sure you have a flawless canvas to show them off!
So jazz up your nails with any of these beautiful designs, or create your own! This list is just a starting place with a few suggestions, but the biggest thrill of nail art design is that you can make yours unique. You can add just about any design you can create from a snowflake as unique as you are to a firework for the Fourth of July.
